Danger Noodle Speed Loader Belt Rig Digital Download
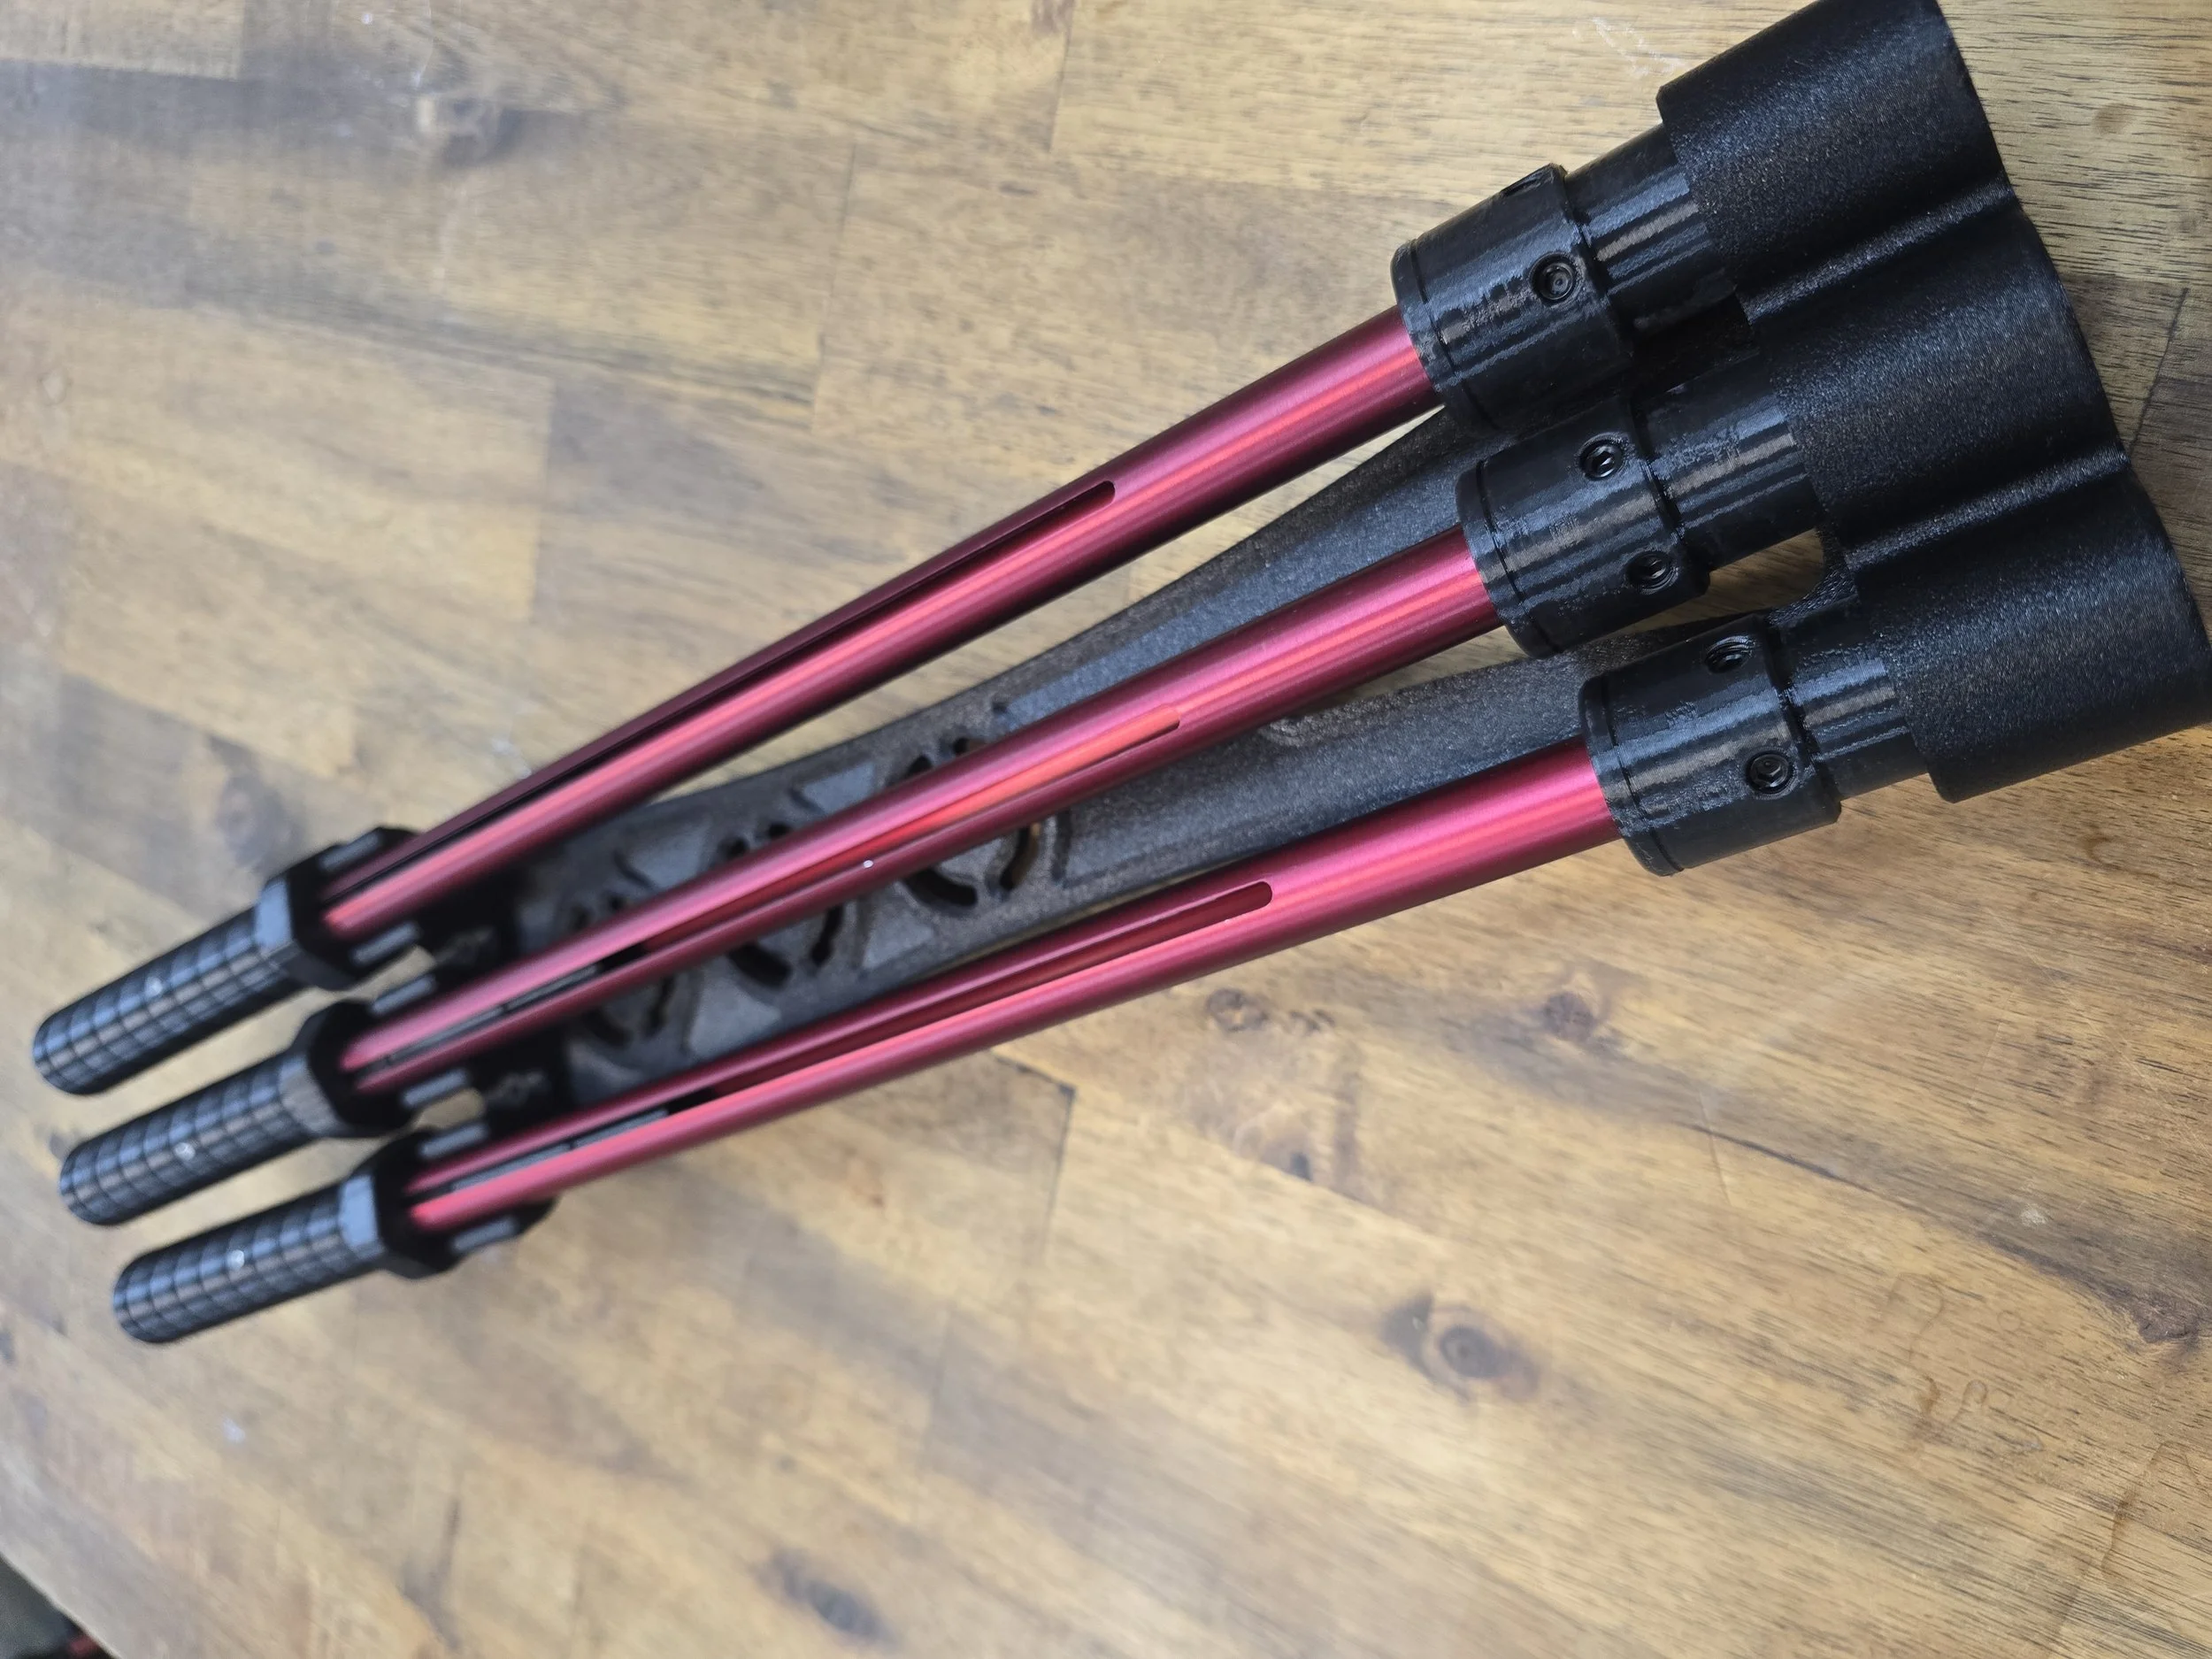
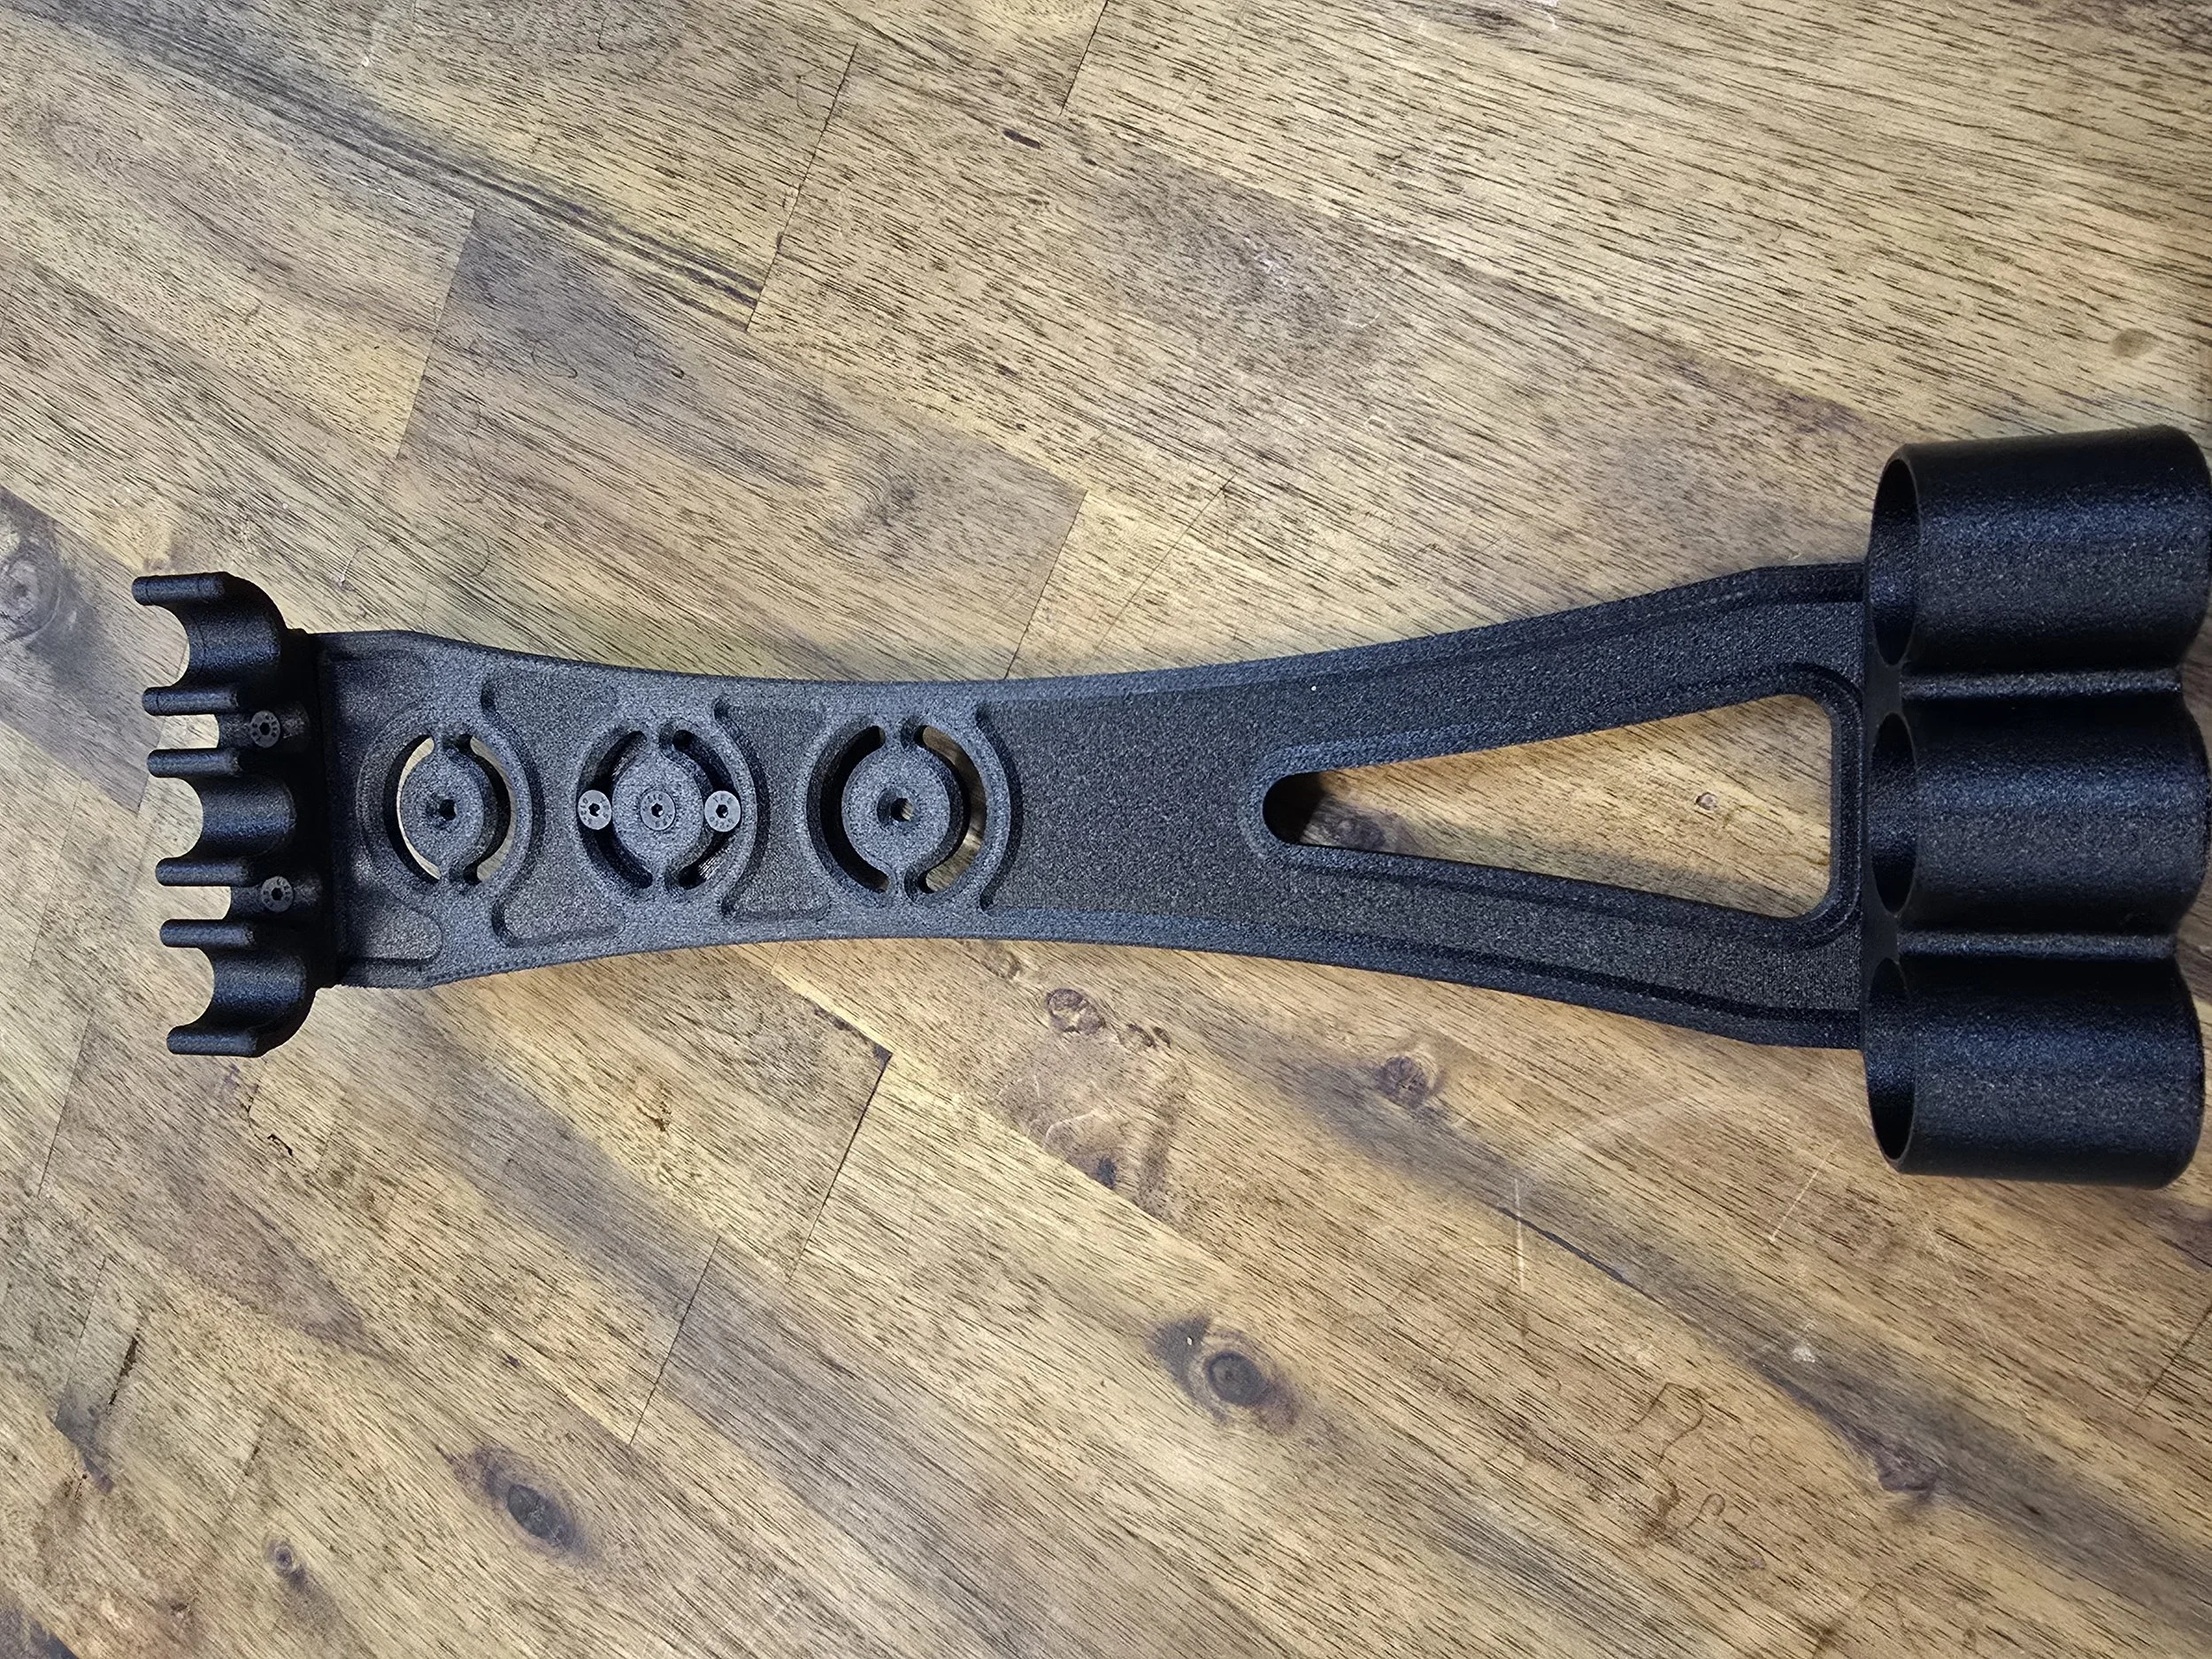
Danger Noodle Speed Loader Belt Rig Digital Download
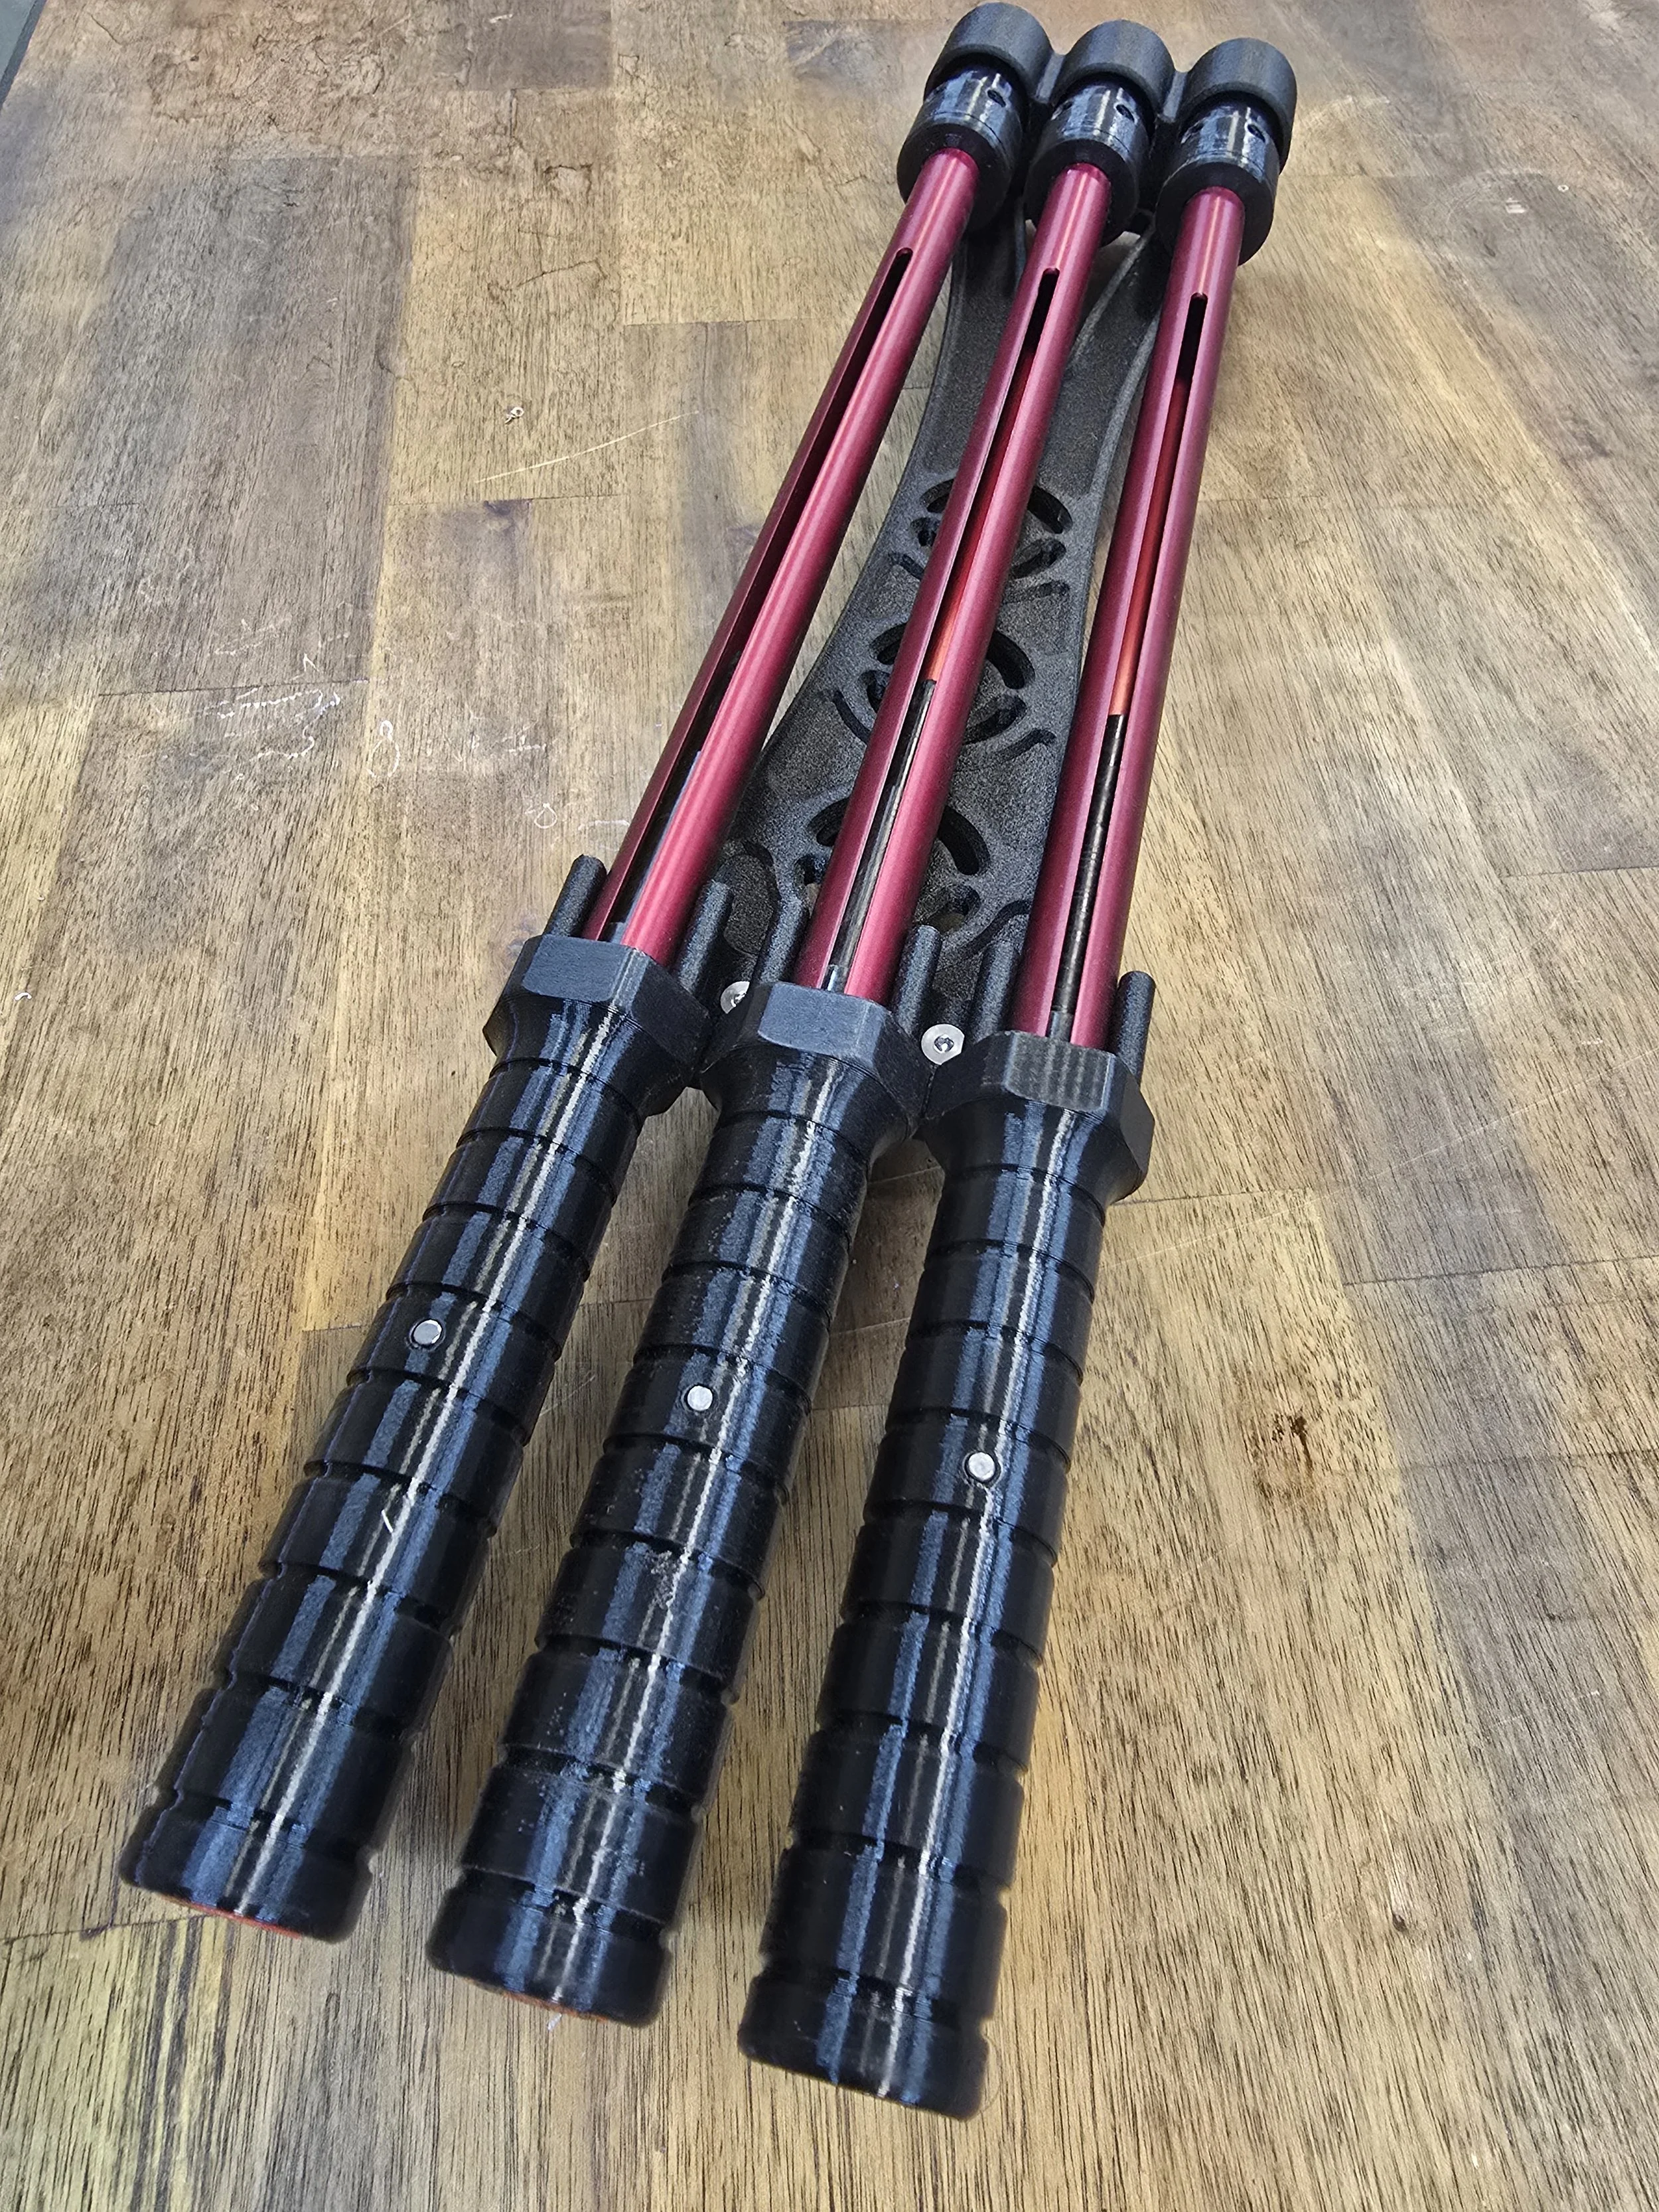
Danger Noodle Speed Loader Belt Rig
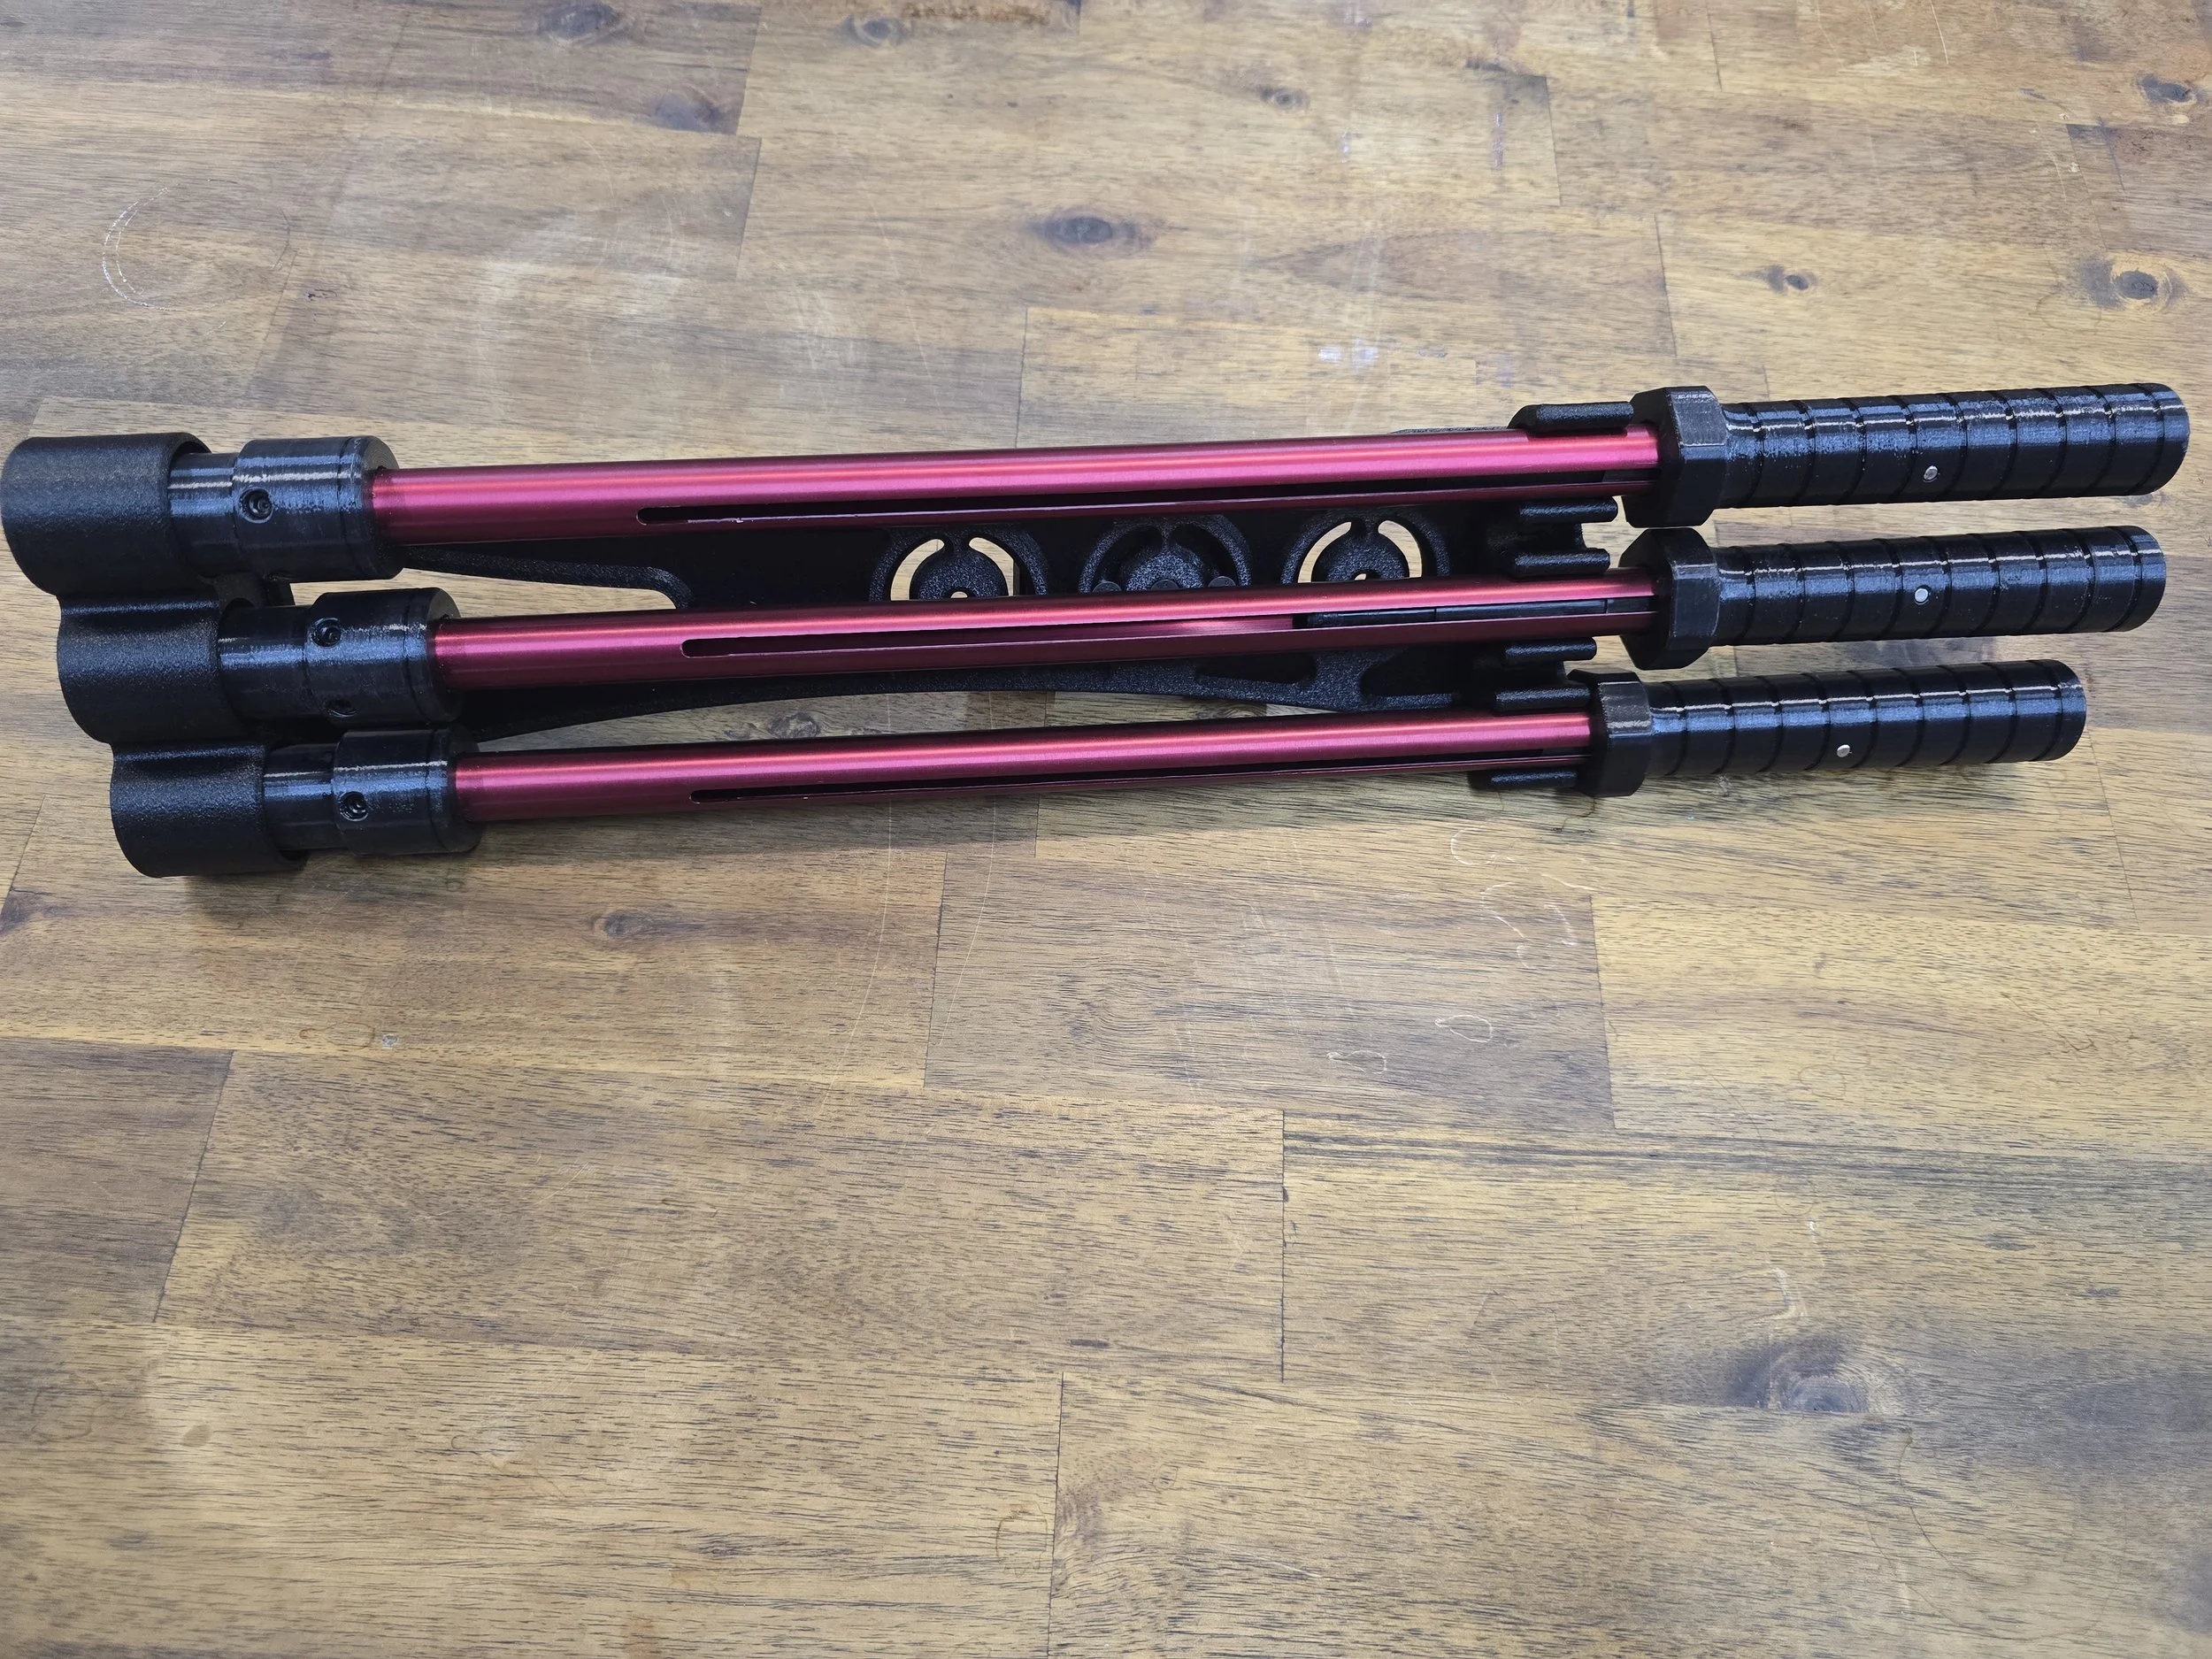
The ultimate free belt rig for your Danger Noodle Speed Loaders.
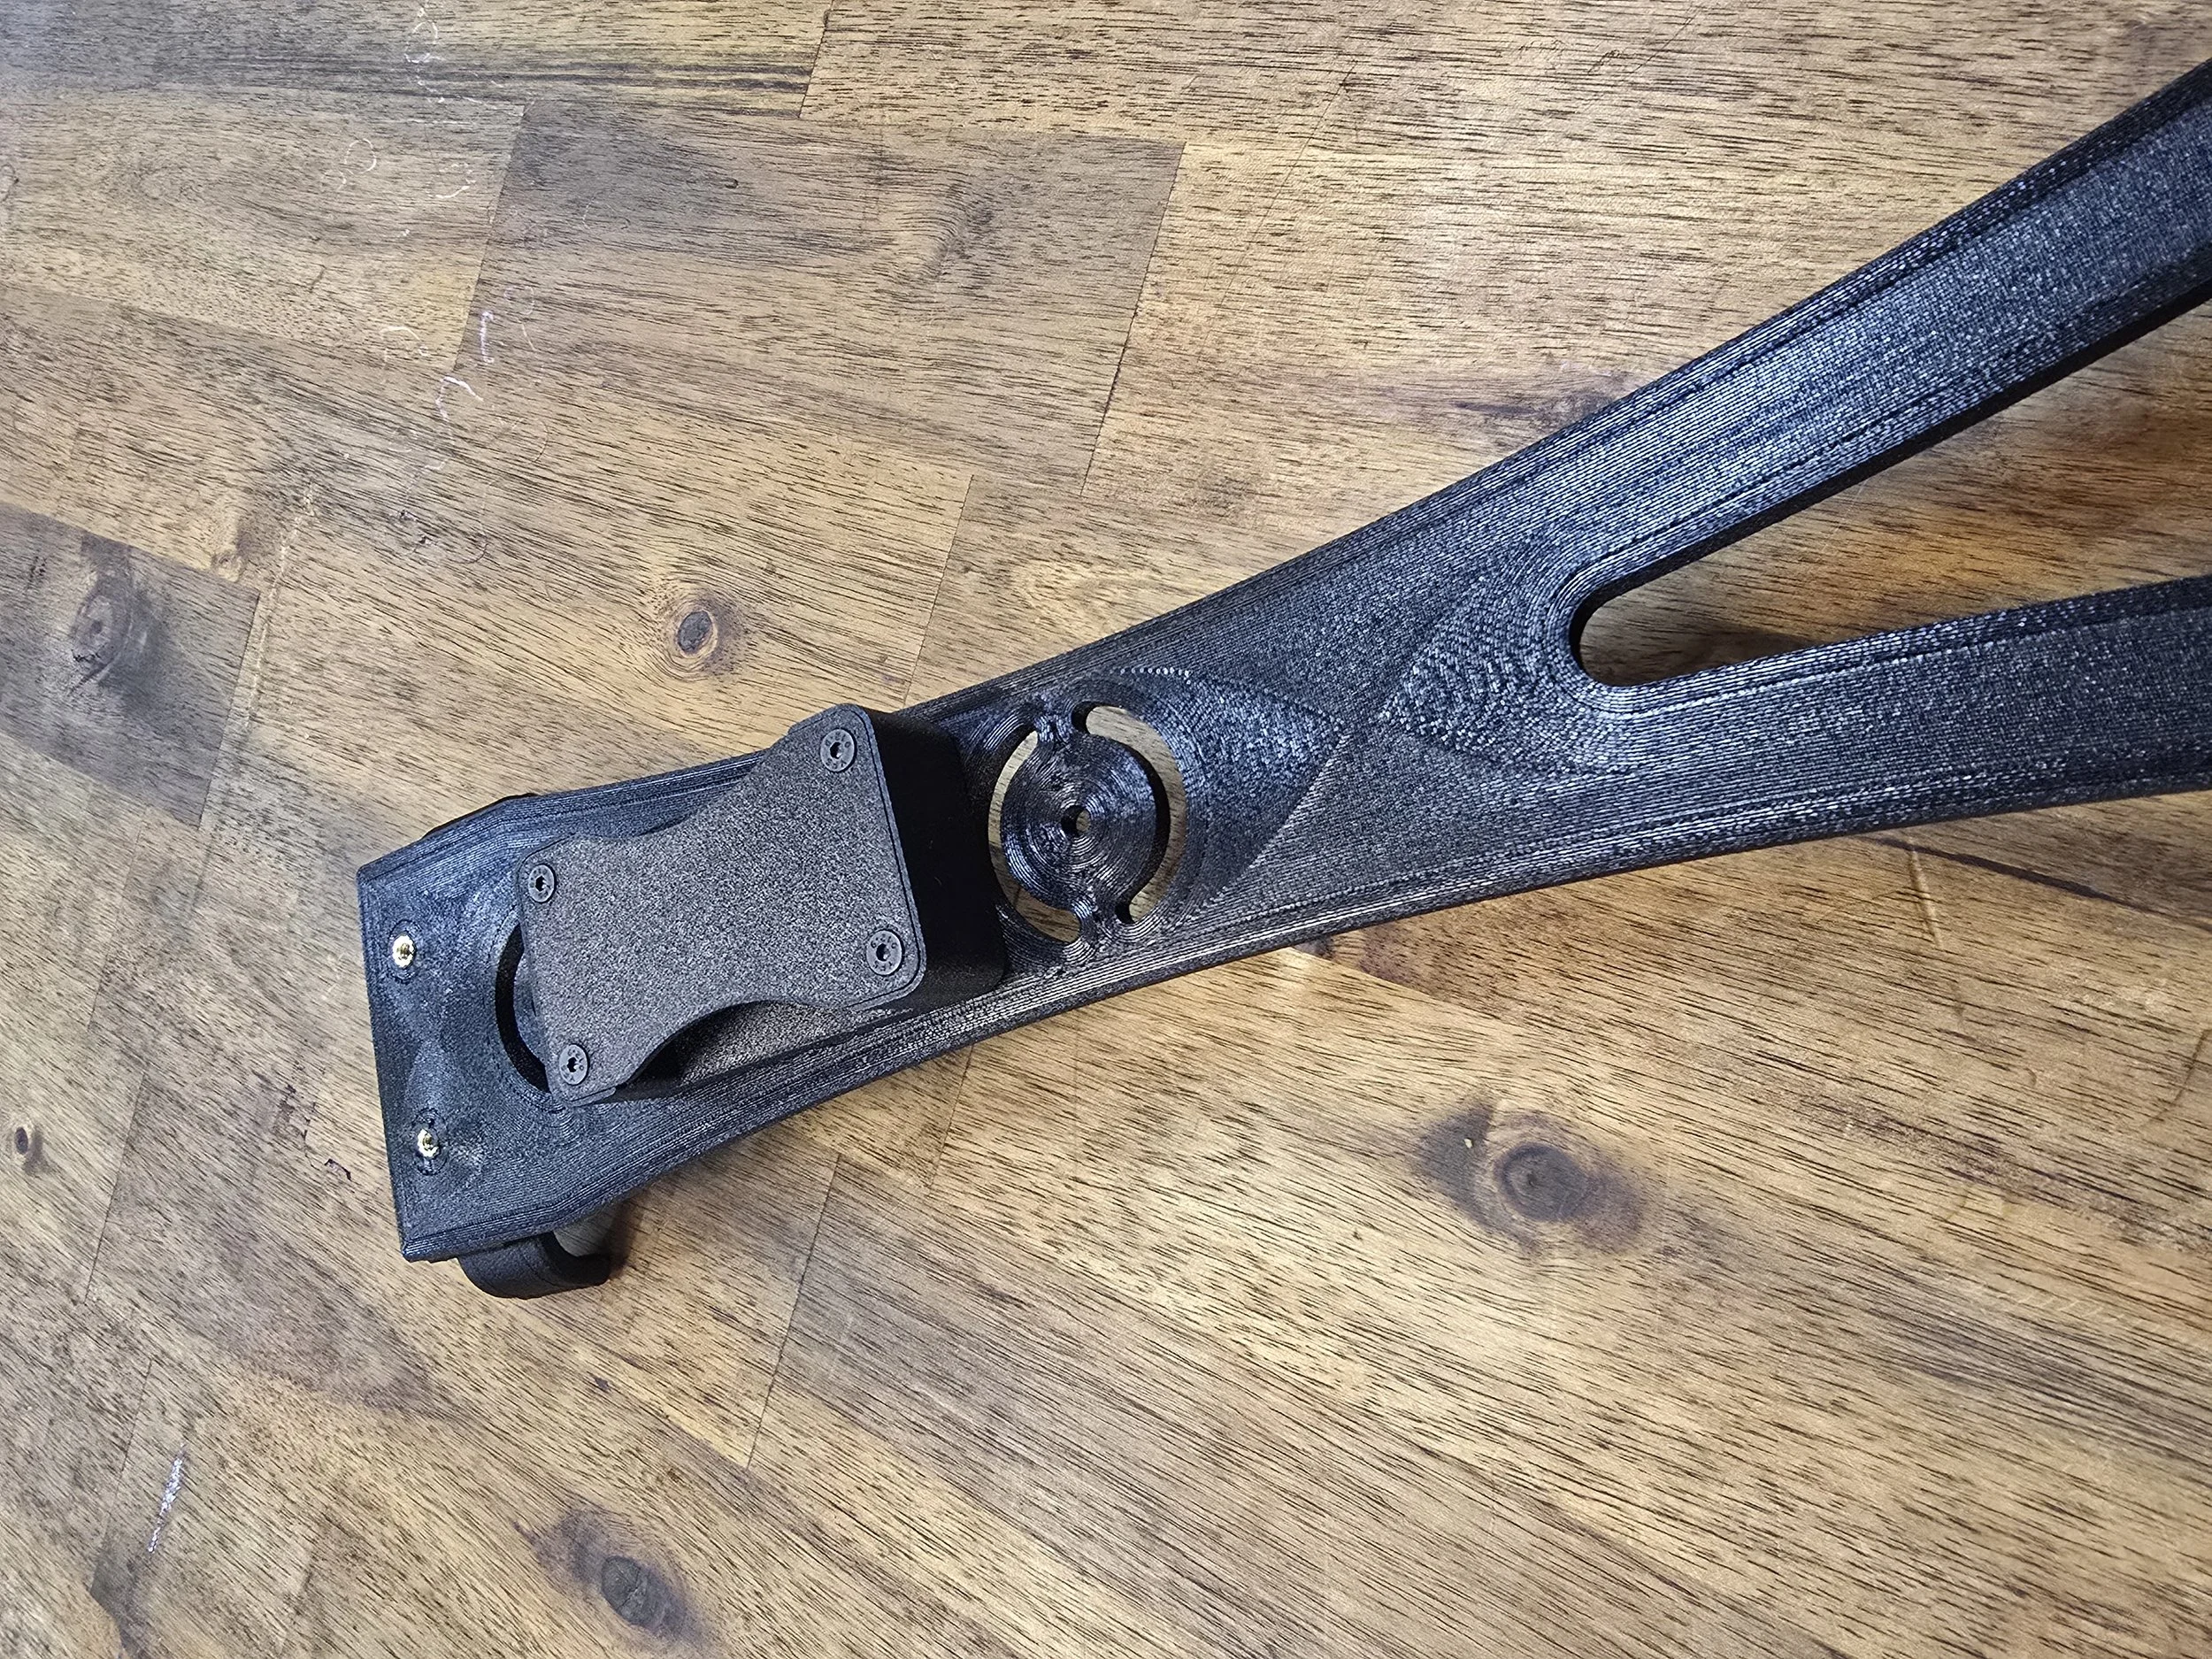
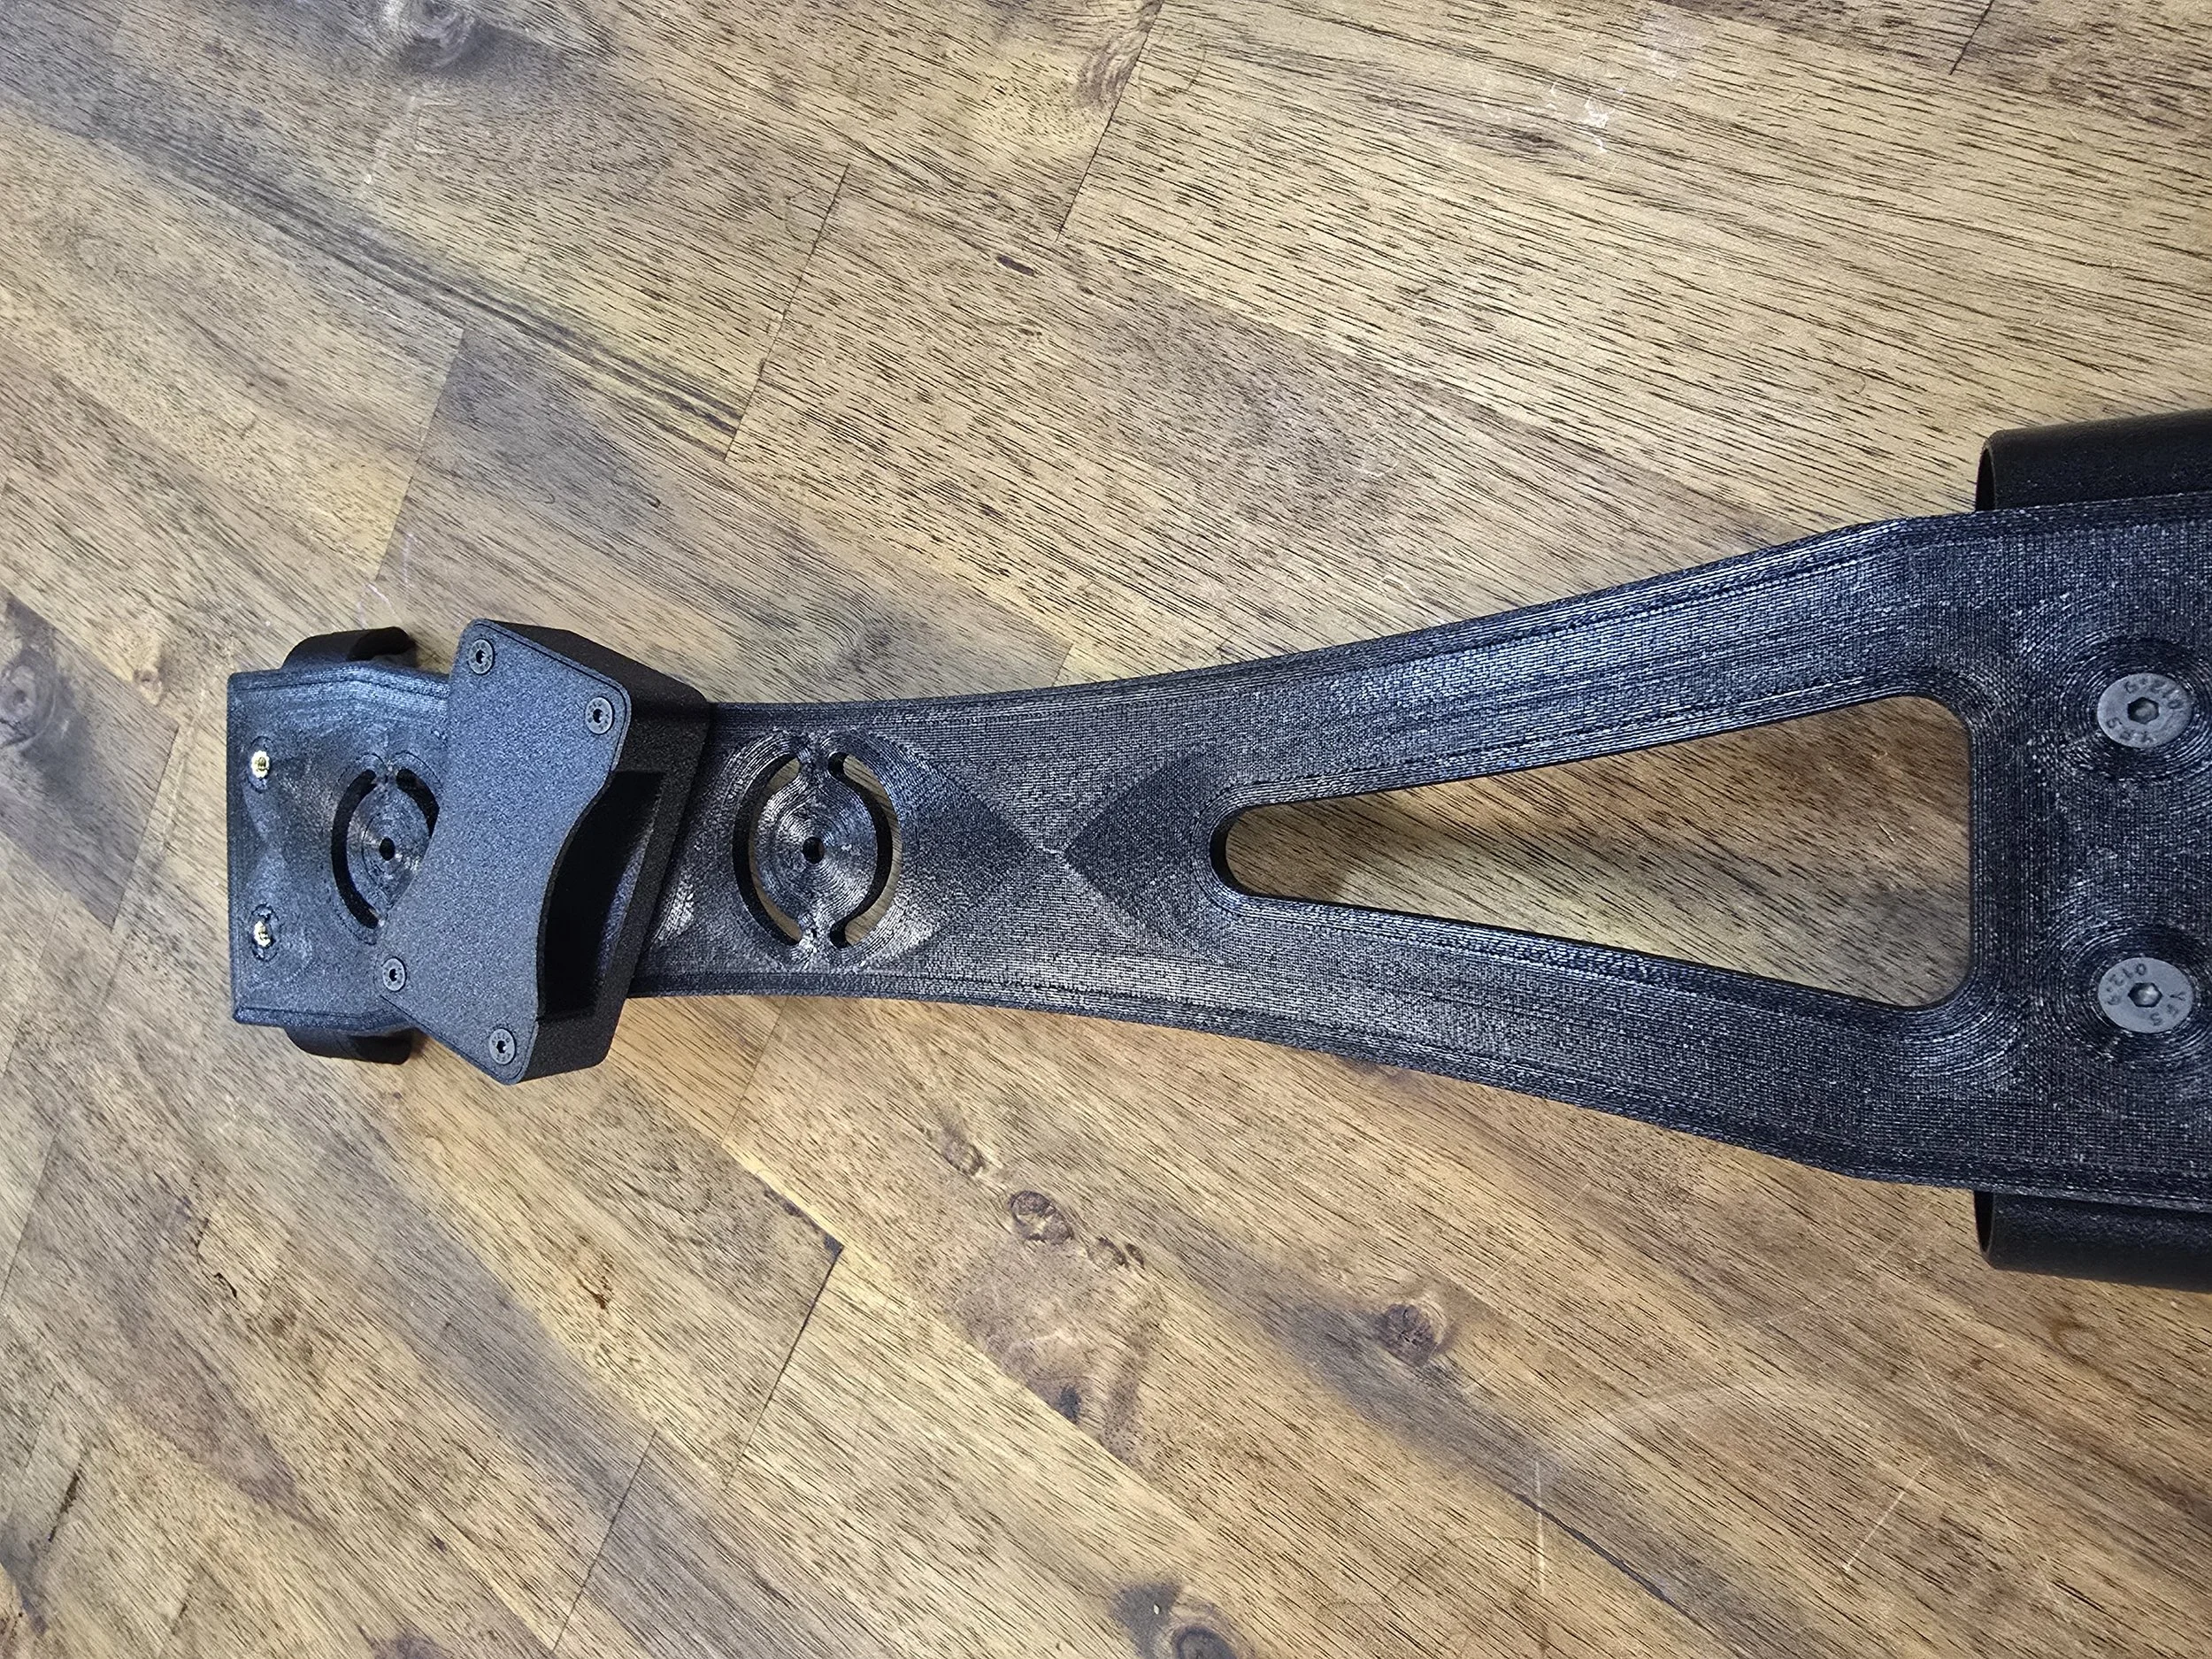
Designed for use with DAA IPSC belts, the rig offers a variety of mounting positions and angles, keeping your spare speed loaders handy while remaining out of the way when navigating barricades or moving through scrub.
Need to mount it to an ATV or hunting e-bike instead? The three mounting options provide plenty of flexibility for different setups.
Feel free to remix the design to suit your needs. Just send us some photos of your setup and share the design with your fellow shooters.
Printing recommendations:
I print these parts in PA6-GF nylon.
The frame, base and belt loop may also be printed in ABS or ASA, but I strongly recommend using nylon for the tube clips.
Speed loader retention can be adjusted by changing the number of walls used when printing the tube clip:
- For greater retention, add more walls.
- For less retention, reduce the number of walls.
Required hardware:
- 8 × M4 × 6 mm brass heat-set threaded inserts
- 4 × M3 × 6 mm brass heat-set threaded inserts
- 7 × M4 × 12 mm countersunk screws
- 4 × M3 × 20 mm countersunk screws
Assembly instructions:
Install the threaded inserts
Using a soldering iron:
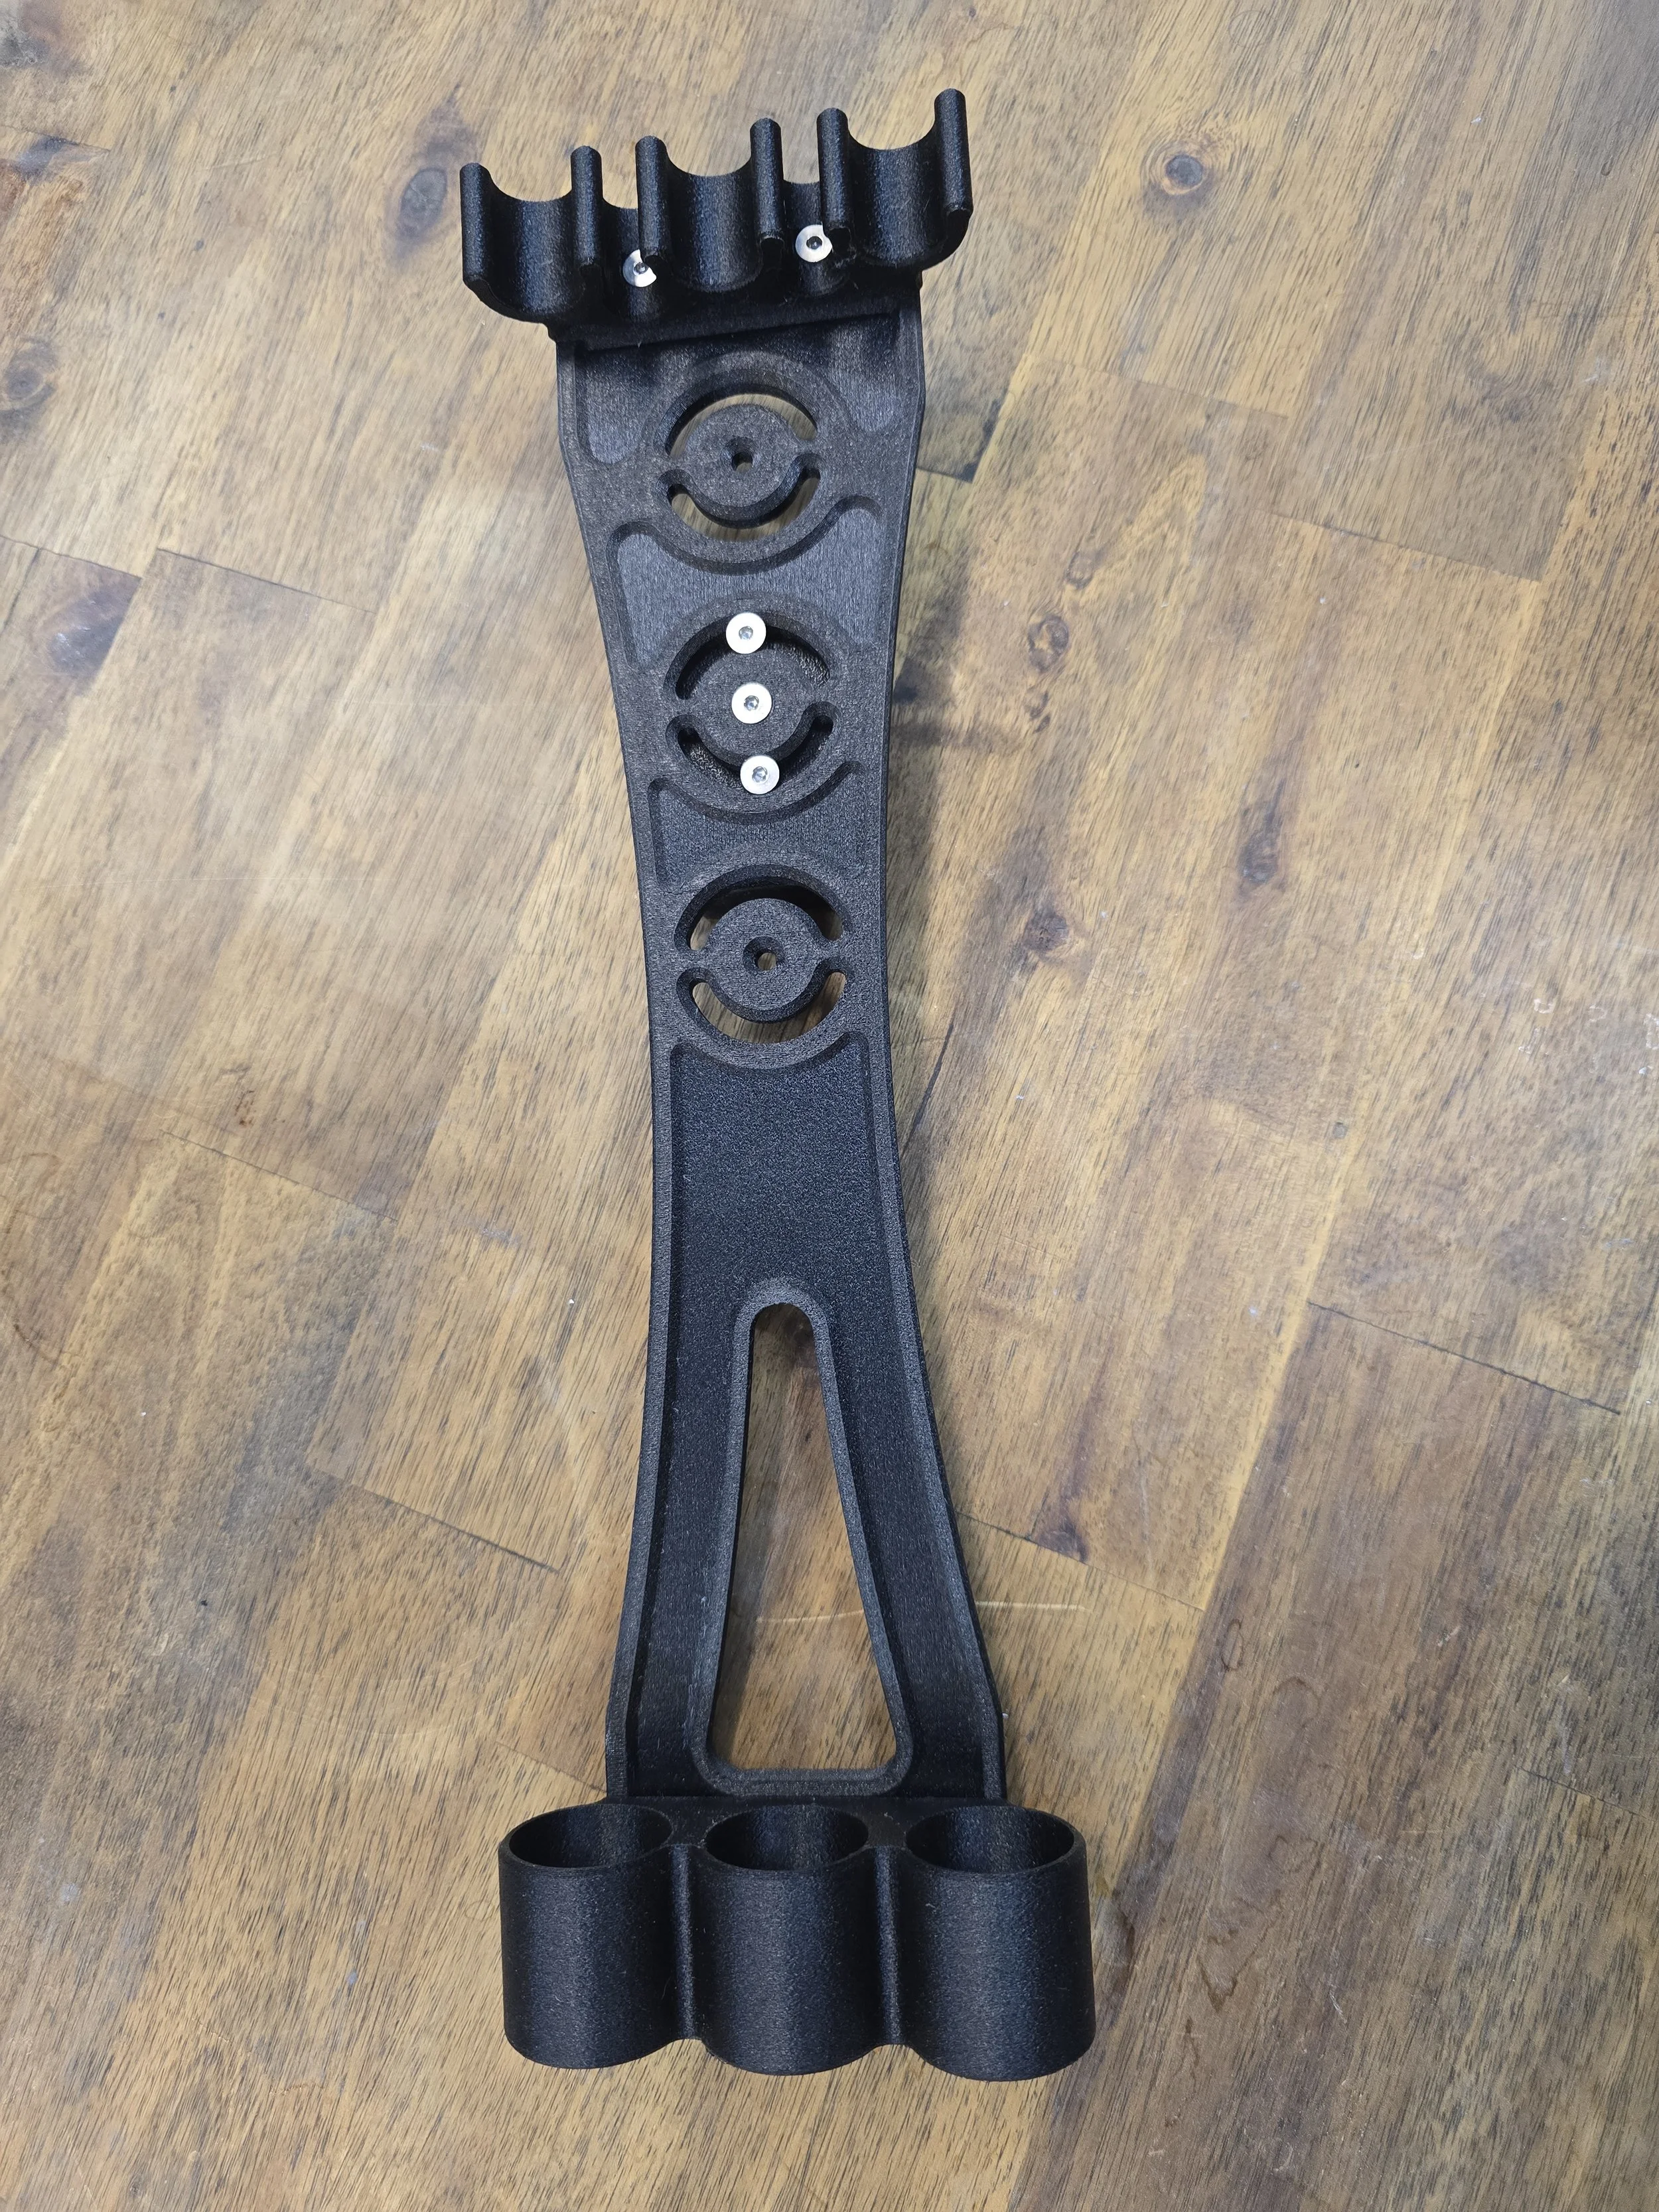
1. Install two M4 heat-set threaded inserts into the two holes at the top of the frame, inserting them from the rear.
2. Install two M4 heat-set threaded inserts into the rear of the base.
3. Install three M4 heat-set threaded inserts into the belt loop from the inside.
4. Install four M3 heat-set threaded inserts into the belt loop from the flat side.
Assemble the rig
1. Attach the tube clip to the top of the frame using two M4 × 12 mm countersunk screws.
2. Attach the base to the bottom of the frame using two M4 × 12 mm countersunk screws.
3. Assemble the belt clip using four M3 × 20 mm countersunk screws.
4. Attach the belt clip to the rear of the frame using three M4 × 12 mm countersunk screws.
5. Initially tighten these three screws only lightly.
6. Adjust the angle and position of the rig until it sits as desired, then securely snug down all three screws.
Important notes
Most threaded inserts should be installed so that, once assembled, the adjoining parts are held together in compression.
The exception is the base, as it should not experience significant load during normal use.
Should any melted plastic enter the threaded inserts during installation, carefully chase the threads using an appropriately sized tap.
THIS FILE IS FREE TO DOWLOAD AND SHARE AND ALWAYS WILL BE.
*This is for the free digtal download, print your own belt rig, speed loaders not included.